

Introduction
As the world moves toward more interconnected and complex web applications, having a secure authentication system that can handle the complex authentication mechanisms required for modern applications has become critical. Auth0 is a well-known authentication provider that provides comprehensive solutions to assist developers in easily integrating authentication into their applications. We will look at how to use Auth0 for authentication in Node.js applications in this guide.
Auth0 Authentication with Node.js
Node.js is a popular server-side JavaScript runtime that is widely used to create scalable and robust web applications. Auth0 provides an SDK called auth0.js that allows developers to easily integrate Auth0 authentication into their Node.js applications. In this guide, we will look at how to use Auth0 with Node.js.
Prerequisites
Before we begin, ensure that you have the following installed on your system:
Node.js
Mongodb
Auth0 account
Setting up Auth0
To use Auth0 in our application, we need to set up an Auth0 account and create an application. Here are the steps to create an application in Auth0:
Sign up for an Auth0 account if you haven't already.
Once you are logged in to your account, click on the "Applications" tab on the dashboard and click on the "Create Application" button.
Give your application a name and select "Regular Web Applications" as the application type.
In the "Settings" tab of your application, add the following URLs to the "Allowed Callback URLs", "Allowed Logout URLs", and "Allowed Web Origins" fields:
 http://localhost:3000/callback,
 http://localhost:3000/logout,
 http://localhost:3000
Replace
localhost:3000with your application URL if you are deploying your application to a remote server.
Project Setup
Create a new Node.js project by running the following command:
$ mkdir node-auth0
$ cd node-auth0
$ npm init -y
Install the required dependencies:
$ npm i express express-openid-connect mongoose ejs dotenv mime
Create a .env file and add the following environment variables:
SECRET=your_auth0_secret
BASE_URL=your_auth0_base_url
CLIENT_ID=your_auth0_client_id
ISSUER_BASE_URL=your_auth0_issuer_base_url
MONGODB_URI=your_mongodb_uri
ISSUER_BASE_URL - The Domain as a secure URL found in your Application settings
BASE_URL - The URL where the application is served (since its test you can make it localhost:300)
CLIENT_ID - The Client ID found in your Auth0 Application settings
SECRET - A long, random string minimum of 32 characters long
Replace the values with your credentials from Auth0
- auth0.js
const { auth } = require('express-openid-connect')
require('dotenv').config()

const auth0Config = {
    authRequired: false,
    auth0Logout: true,
    secret: process.env.AUTH0_SECRET,
    baseURL: process.env.AUTH0_BASE_URL,
    clientID: process.env.AUTH0_CLIENT_ID,
    issuerBaseURL: process.env.AUTH0_ISSUER_BASE_URL
}

module.exports = auth(auth0Config)
The configuration settings for the Auth0 authentication. It uses the auth function from express-openid-connect to handle the authentication. The auth0Config object defines the configuration settings such as authRequired, auth0Logout, secret, baseURL, clientID, and issuerBaseURL. The module.exports statement exports the auth function with the auth0Config settings.
- books.js
const mongoose = require('mongoose')

const Schema = mongoose.Schema;

const bookSchema = new Schema({
    title: {
        type: String,
        required: true
    },
    year: {
        type: Number,
        required: true,
        max: [2023, 'Year must be less than 2023']
    },
    price: {
        type: Number,
        required: true,
        min: [0, 'Price must be greater than 0']
    }},
    {timestamps: true}
)

module.exports= mongoose.model('Books', bookSchema);
This code defines the bookSchema object for the books collection in the database. The schema defines the properties of a book such as title, year, and price. The module.exports statement exports the Books model with the bookSchema.
- book.controller.js
const bookModel = require("../models/books")

function getAllBooks(req, res) {
    bookModel.find()
        .then(books => {
            res.status(200).render('books', { books: books })
        })
        .catch(error => {
            console.error(error)
            res.status(500).send(error)
        })
}

function addBook(req, res) {
    const book = req.body
    bookModel.create(book)
     .then(books => {
         res.status(201).redirect('/books')
     })
     .catch(error => {
         console.error(error)
         res.status(500).send(error)
     })
}

module.exports = {
    getAllBooks,
    addBook
}
This code defines two functions for handling book requests: getAllBooks and addBook. The getAllBooks function retrieves all books from the database and renders them on the books page. The addBook function adds a new book to the database and redirects the user to the books page. If an error occurs, the function logs the error and sends a 500 status code response.
- book.router.js
const express = require('express')
const { requiresAuth } = require('express-openid-connect')
const bookController = require('../controllers/book.controller')

const bookRouter = express.Router()

bookRouter.get('/', requiresAuth(), bookController.getAllBooks)
bookRouter.post('/', requiresAuth(), bookController.addBook)

module.exports = bookRouter
The routes for handling book requests. It uses the requiresAuth middleware from express-openid-connect to ensure that only authenticated users can access the books page. The routes are defined using the bookRouter object, which maps to the getAllBooks and addBook functions from the book.controller.js file. The bookRouter object is then exported.
- index.js
const express = require("express")
const { requiresAuth } = require('express-openid-connect')
const path = require('path');
const mime = require('mime');

const auth0Middleware = require('./auth/auth0')
const CONFIG = require('./config/config')
const bookRouter = require("./routes/books.routes")
const connectToDb = require('./db/dbSetup')

const app = express()

// Connect to Mongodb Database
connectToDb()

app.use(express.json())
app.use(express.urlencoded({ extended: false }))

app.set('view engine', 'ejs');
app.set('views', path.join(__dirname, 'views'))

app.use(express.static(path.join(__dirname, 'views'), {
    setHeaders: (res, path) => {
      const contentType = mime.getType(path);
      res.set('Content-Type', contentType);
    },
}));

// auth router attaches /login, /logout, and /callback routes to the baseURL
app.use(auth0Middleware);

app.use('/books',  bookRouter)

app.get('/', (req, res) => {
    res.status(200).send(req.oidc.isAuthenticated() ? 'Logged in' : 'Logged out');
})


app.get('/profile', requiresAuth(), (req, res) => {
    const user = JSON.parse(JSON.stringify(req.oidc.user))
    res.render('profile', { user })
})

//Error handler middleware
app.use((err, req, res, next) => {
    console.error(err)
    const errorStatus = err.status || 500
    res.status(errorStatus).send(err.message)
    next()
})

app.listen(CONFIG.PORT, () => {
    console.info(`Server started on http://localhost:${CONFIG.PORT}`)
})
The index.js file is the entry point of the application, where the dependencies are imported and the server is started. It starts by importing the required modules such as express express-openid-connect path mime, and the custom modules such as auth0Middleware, CONFIG, bookRouter, and connectToDb.
The app variable is created by invoking the express function, which creates an express application. The app variable is then used to set the view engine to ejs, specify the views directory, and serve static files from the views directory.
The auth0Middleware middleware is added to the app, which handles authentication with Auth0. The bookRouter middleware is also added to the app with the "/books" route.
Two routes are defined on the app object. The first one is the home route "/", which returns either "Logged in" or "Logged out" depending on whether the user is authenticated or not. The second route is the profile route "/profile", which requires authentication and displays the user's profile information.
Finally, an error handler middleware is added to the app to handle any errors that may occur during the request/response cycle.
- books.ejs
<!DOCTYPE html>
<html lang="en">
<head>
    <meta charset="UTF-8">
    <meta http-equiv="X-UA-Compatible" content="IE=edge">
    <meta name="viewport" content="width=device-width, initial-scale=1.0">
    <link rel="stylesheet" type="text/css" href="./style.css">
    <title>Bookstore</title>
</head>
<body>
    <h1>Welcome to the Bookstore!</h1>
    <h2>Add a Book</h2>
    <form action="/books" method="POST">
        <label for="title">Title:</label>
        <input type="text" id="title" name="title" required>
        <br>
        <label for="year">Year:</label>
        <input type="number" id="year" name="year" required>
        <br>
        <label for="price">Price:</label>
        <input type="number" id="price" name="price" required>
        <br>
        <button type="submit">Add Book</button>
    </form>

    <h2>All Books</h2>
    <% if (books.length > 0) { %>
        <table>
            <thead>
                <tr>
                    <th>Title</th>
                    <th>Year</th>
                    <th>Price</th>
                </tr>
            </thead>
            <tbody>
                <% books.forEach((book) => { %>
                    <tr>
                        <td><%= book.title %></td>
                        <td><%= book.year %></td>
                        <td><%= book.price %></td>
                    </tr>
                <% }) %>
            </tbody>
        </table>
    <% } else { %>
        <p>No Books Found</p>
    <% } %>
</body>
</html>
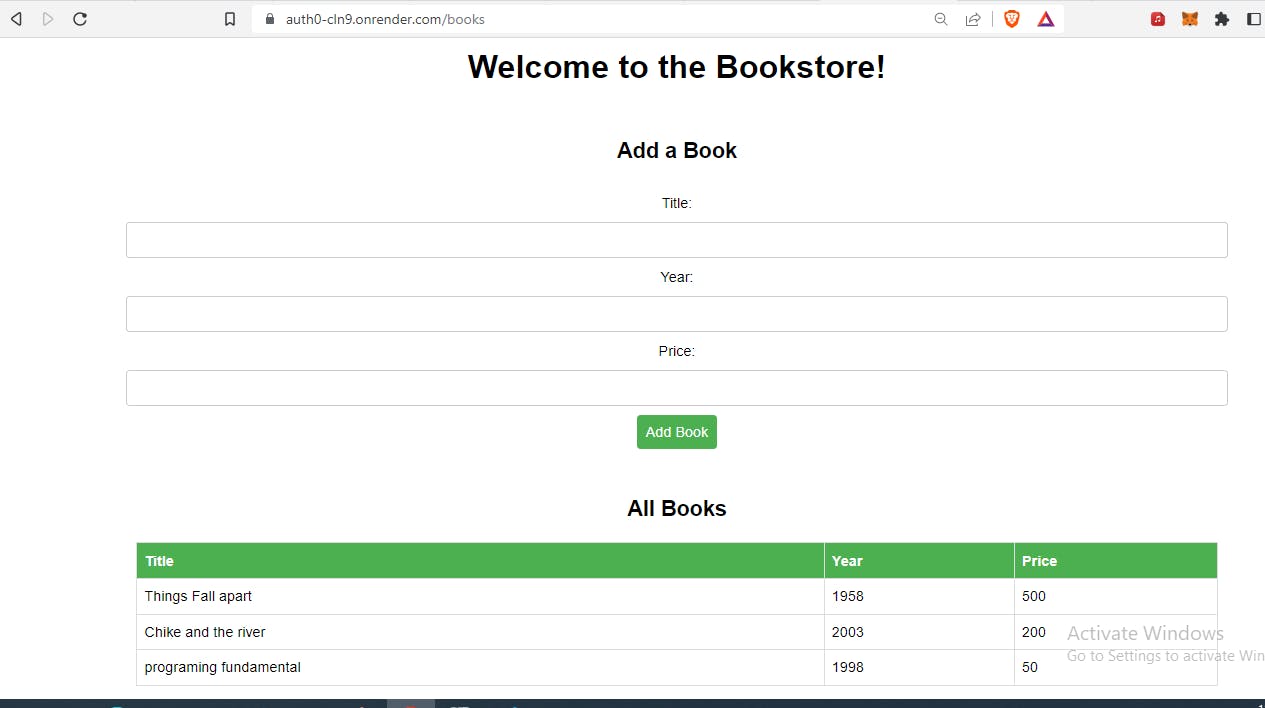
The books.ejs file is a view file that displays a form to add a book and a table that lists all the books. The form sends a POST request to the "/books" route. If there are no books to display, a message is displayed instead.
- profile.ejs
<!DOCTYPE html>
<html>
  <head>
    <meta charset="UTF-8">
    <meta http-equiv="X-UA-Compatible" content="IE=edge">
    <meta name="viewport" content="width=device-width, initial-scale=1.0">
    <link rel="stylesheet" type="text/css" href="./styles.css">
    <title>User Profile</title>
  </head>
  <body>
    <h1>User Profile</h1>
    <ul>
      <li><strong>Name:</strong> <%= user.name %></li>
      <li><strong>Nickname:</strong> <%= user.nickname %></li>
      <li><strong>Email:</strong> <%= user.email %></li>
      <li><strong>Email Verified:</strong> <%= user.email_verified %></li>
    </ul>
  </body>
</html>
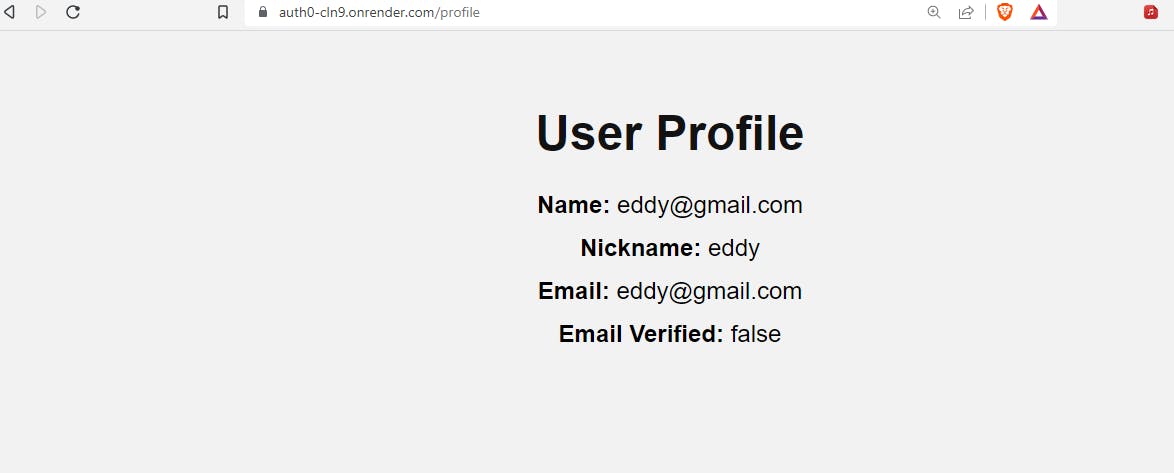
we are displaying the user information on the /profile route by passing the user object to the profile.ejs view.
We have finished building our Auth0 login page, let's run the application by below command
node index.js
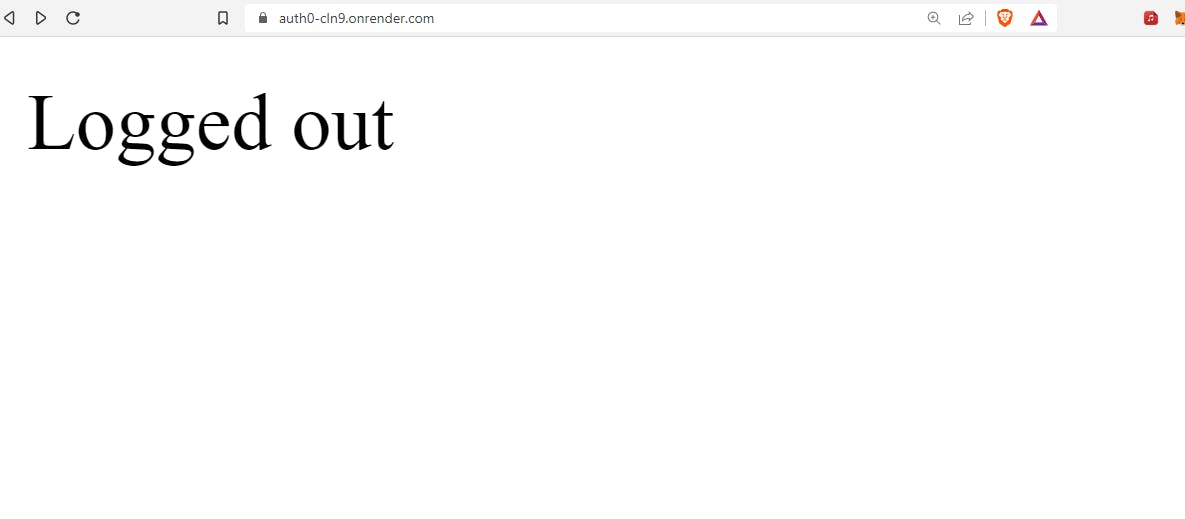
Our app is deployed on render that's why the url is different but its still the same process. Once our server is running on https://auth0-cln9.onrender.com/
Now, visit https://auth0-cln9.onrender.com/login route for authentication. Once you visit the route it redirects you to the Auth0 custom page for login.
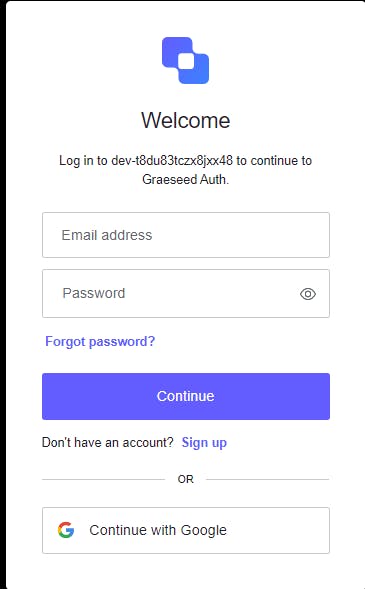
Enter your details and you will be redirected back to the application
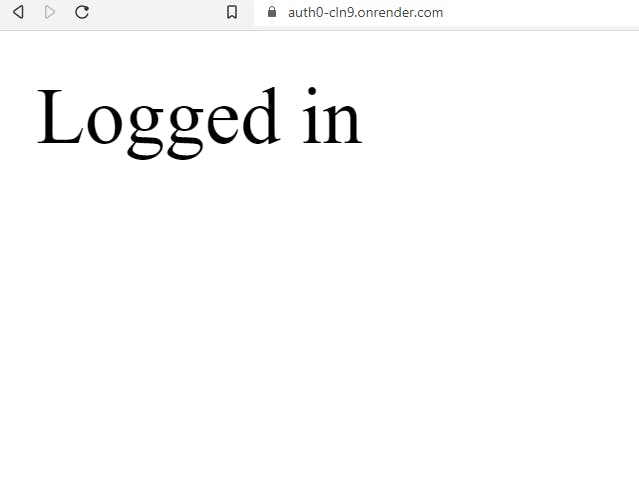
Since you logged in, now you can try to get your user details with the /profile endpoint and get and add books in the /books endpoint.
Conclusion
Auth0 has been successfully integrated into this codebase, providing robust authentication and authorization features for the Bookstore application. With the use of express-openid-connect, the application can implement secure login and logout functionality, as well as user profile management through the profile.ejs file. Overall, the implementation of Auth0 adds an extra layer of security and reliability, making it a trustworthy and efficient platform for managing users.
You can found the complete code used in this tutorial on our Github Repo
Link to deployed app on render