

Table of contents
Are you ready to take your first steps into the world of DevOps? In this beginner-friendly technical article, we'll walk you through the process of deploying a Flask web application on AWS (Amazon Web Services) cloud using an EC2 (Elastic Compute Cloud) instance running Ubuntu. We will also cover SSH access, SSH key generation and linking it to your GitHub repository, setting up a basic web app using Flask, configuring inbound rules for AWS, and ensuring your Flask app runs reliably using Gunicorn and PM2.
Prerequisites
Before we dive into the deployment process, make sure you have the following:
An AWS account: If you don't have one, sign up for an AWS account here
An SSH connection management app most preferably termius
A github account and also a code editor like vscode
Step 1: Create an AWS EC2 Instance
Setting Up Your EC2 Instance
Sign in to AWS: Log in to your AWS account using your credentials.
Access EC2: Once logged in, navigate to the AWS Management Console and select the EC2 service.
Launch an Instance: Click the "Launch Instance" button to create a new EC2 instance.
Choose an AMI: In the instance setup wizard, choose an Ubuntu Amazon Machine Image (AMI) as your operating system.
Step 2: Create a Basic Flask Web App
Setting Up Your Flask App
Creating a directory: Open Visual Studio Code and create a new directory for your Flask app by clicking "File" > "Open Folder" and selecting a location on your local machine or by opening the terminal and create a directory using the linux command
mkdir.mkdir flask-appCreate Your Flask App Files: Inside the directory you just created, create the necessary files for your Flask app:
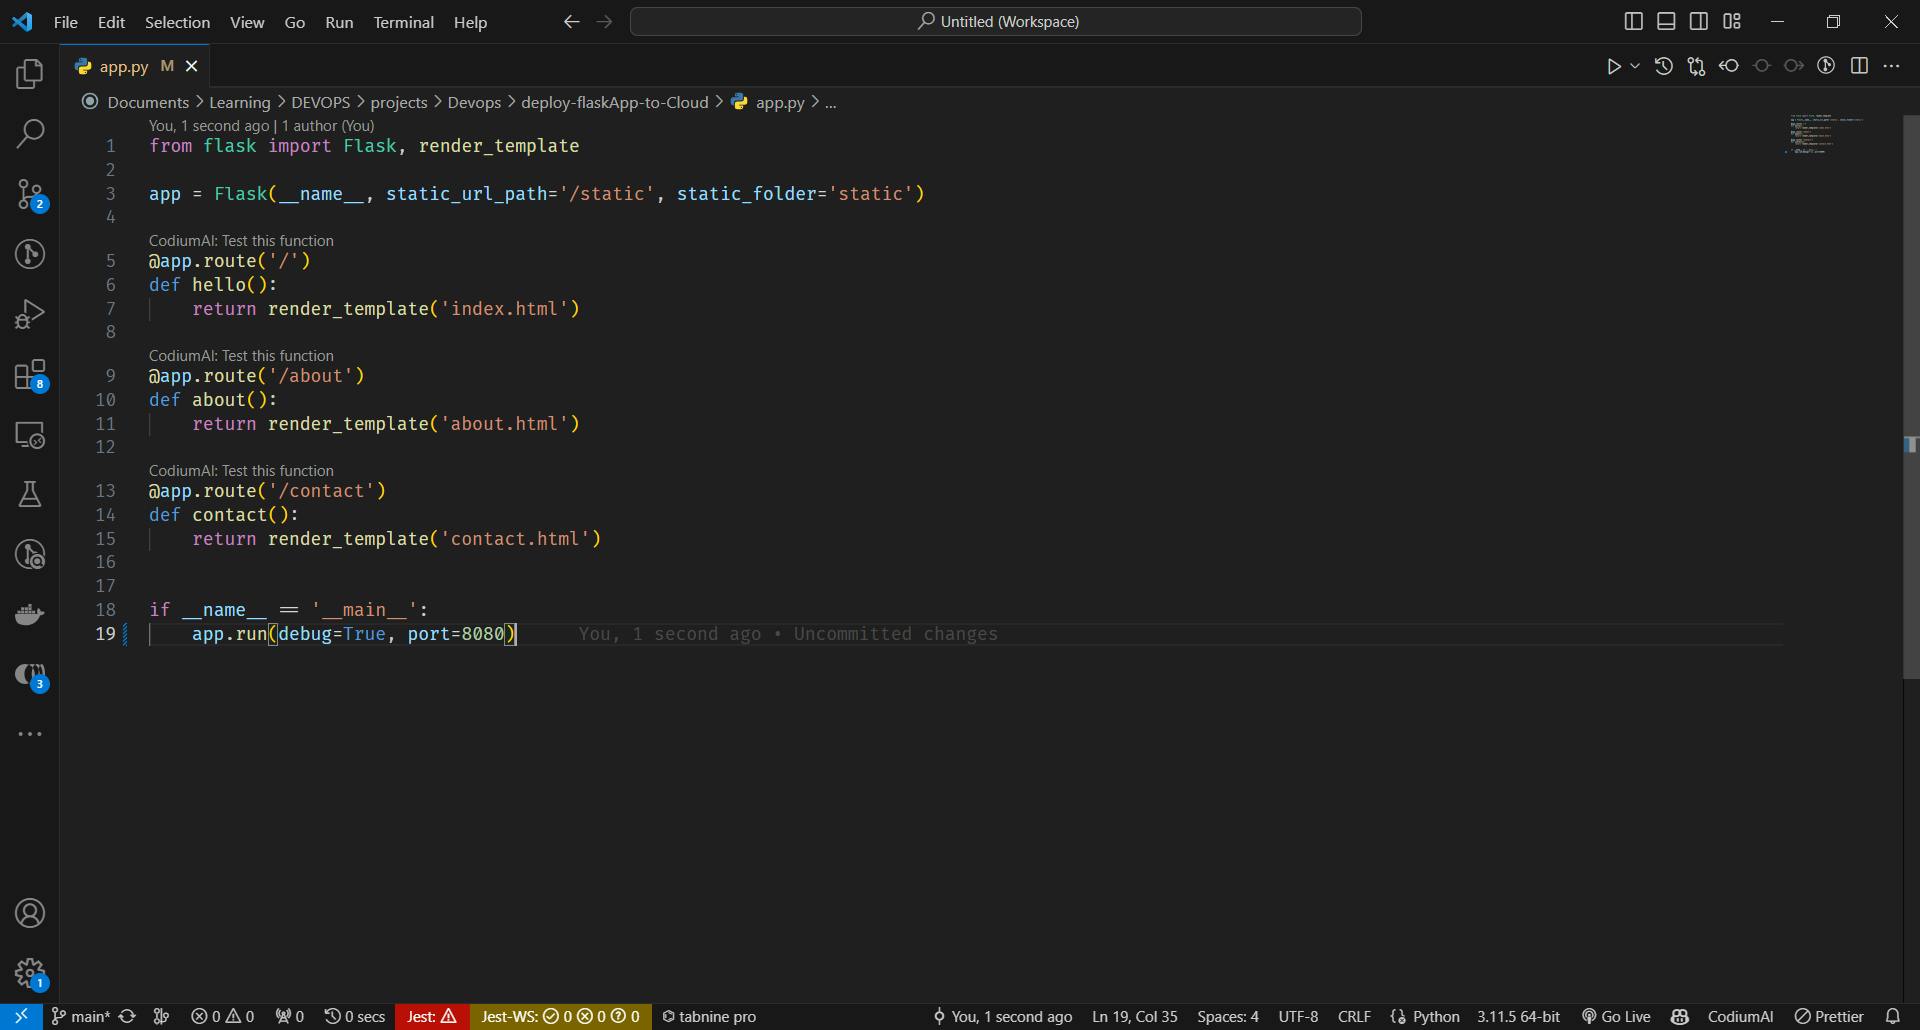
app.py: This will contain your Flask app code.templatesfolder: Create a folder named "templates" to store your HTML templates.Inside the "templates" folder, create the following HTML files:
index.html,about.html, andcontact.html.cd flask-app; touch app.py; mkdir templates style; cd templates; touch index.html about.html contact.html; cd .. && cd styles; touch style.cssThis sequence of commands sets up a directory structure for a Flask web application with HTML templates in the "templates" directory and a CSS file in the "styles" directory, along with an empty Python file "app.py" in the main "flask-app" directory.
write your flask app code
Now, open
app.pyin Visual Studio Code and write your Flask app code and push to github
Step 3: SSH into Your EC2 Instance Using Termius
Launch the Termius application on your local machine. If you haven't installed it yet, download and install it following the provided instructions. Upon opening Termius, you'll see the GUI (Graphical User Interface). This user-friendly interface simplifies the process of managing your SSH connections.
Click on the "New Host" button or navigate to "File" > "New Host."


In the "Label" field, give your connection a friendly name, such as "My App Server."
In the "Address" field, enter your EC2 instance's public IP address. You can find this in the AWS EC2 dashboard.
In the "Username" field, enter
ubuntu. This is the default username for most AWS Ubuntu instances.Now, it's time to add your SSH key. Click on the "Set Key" icon next to the "Password" field.
In the "Add SSH Key" dialog, click on the "Browse" button to locate your private SSH key file (
id_rsaor a custom name) on your local machine. Make sure this is the private key associated with your EC2 instance.After selecting your key file, click "Open" or "Choose" to add it to Termius.
You'll see your SSH key added to the "Private Key" field.
Click the "Save" button to save your host configuration and double click on your host name to connect to it

Step 4: Generate an SSH Key and Link to GitHub
Generate an SSH Key: On your termius, generate an SSH key pair using the
ssh-keygencommand. This creates a private key (id_rsa) and a public key (id_rsa.pub).ssh-keygenCopy the Public Key: Use the following command to copy the contents of your public key (
id_rsa.pub):cat ./.ssh/id_rsa.pubLog in to your GitHub account, go to "Settings," on your repo and click on "Deploy keys." Then, paste your public key, after creating a name for it.
Step 5: Configure Inbound Rules on AWS
Allowing Traffic to Your EC2 Instance
Access AWS Console: In the AWS Management Console, go to the EC2 dashboard.
Select Your EC2 Instance: Select your EC2 instance, click "Actions," and choose "Networking" > "Change Security Groups."
Edit Inbound Rules: Edit the inbound rules to allow incoming traffic on port 8080 (HTTP) and any other necessary ports for your app.
Step 6: Use Gunicorn and PM2 for Your Flask App
Ensuring Your App Runs Reliably
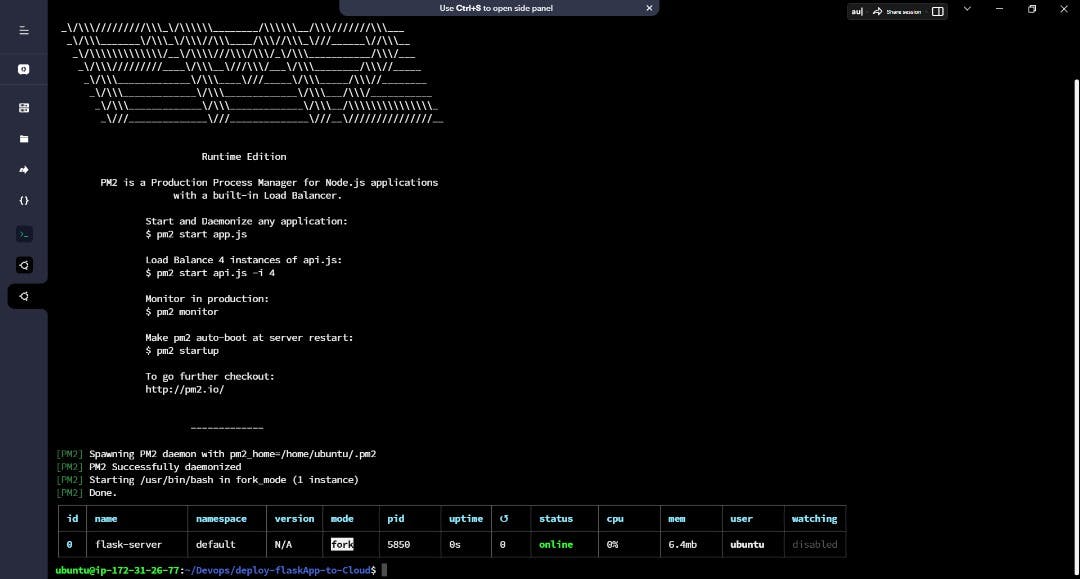
Install Gunicorn and PM2: PM2 is a process manager for running and managing Node.js applications and scripts while gunicorn is used to serve Python web applications, like those built with Flask or Django, by handling incoming HTTP requests. Inside your EC2 instance on termius, install Gunicorn and PM2 using the following commands below:
  pip install gunicorn
  npm install pm2 -g
Run Your Flask App with Gunicorn: Start your Flask app using Gunicorn:
pm2 start "gunicorn -w 1 -b 0.0.0.0:8080 app:app"The command starts Gunicorn with a single worker process, binds it to port 8080 on all available network interfaces, and tells it to run the Flask application specified in the
appvariable of theappPython module.
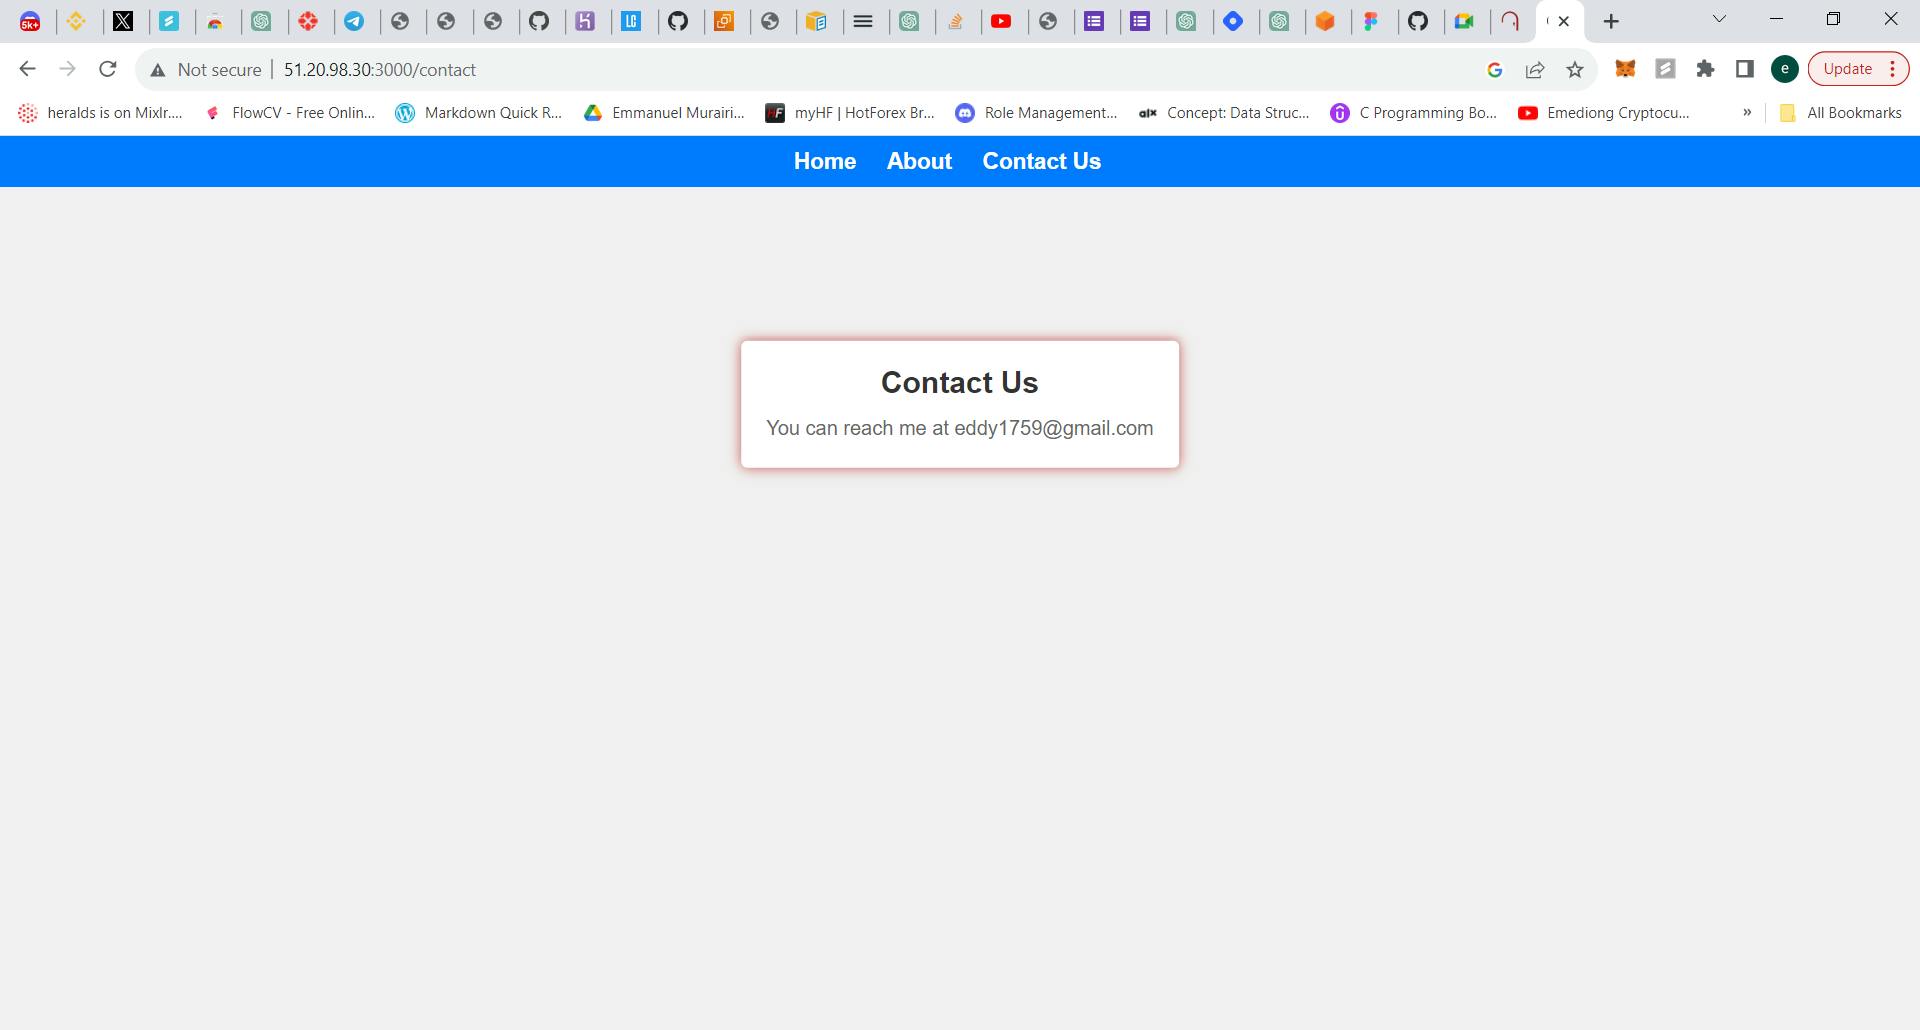
Go to the public ip and port, for instance accessing this 51:20:98:30:3000
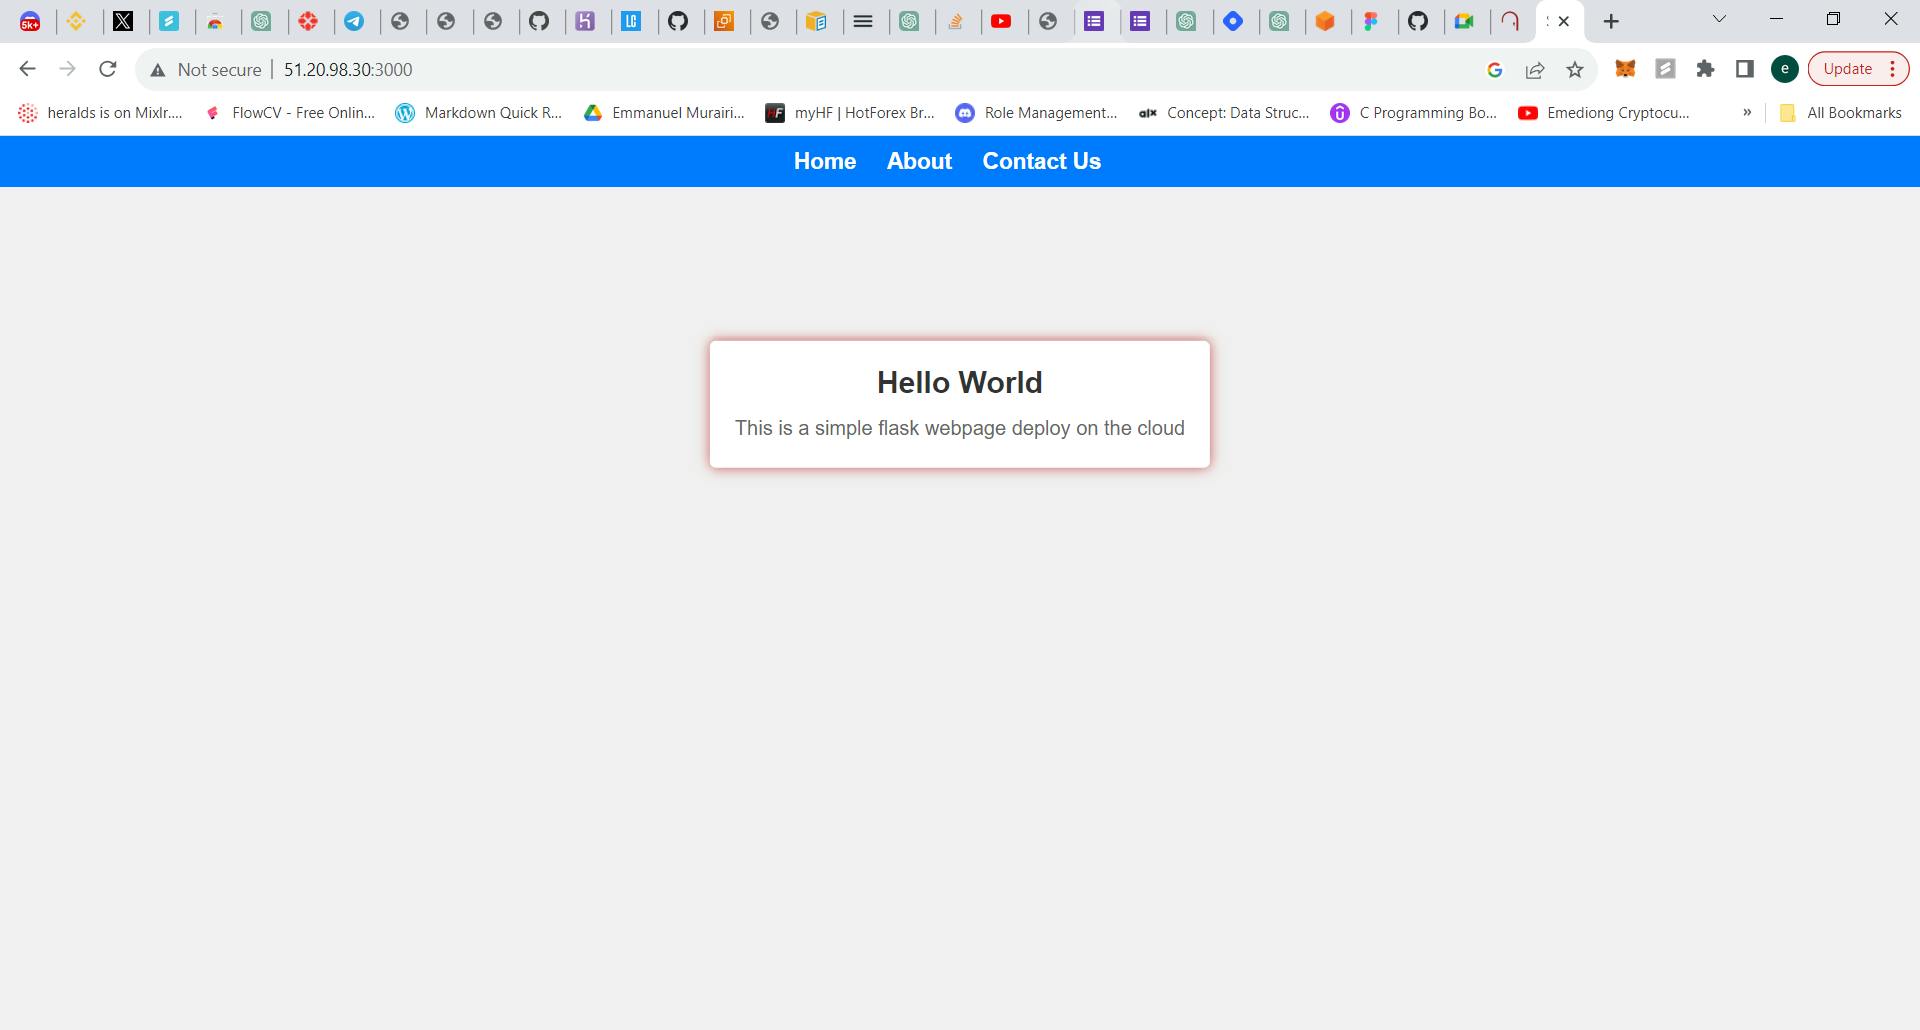

Congratulations! You have successfully deployed a Flask app on AWS cloud, configured SSH access, added an SSH key to GitHub, and ensured your app runs reliably with Gunicorn and PM2.